
Hey guys! Now that the Holy week is over here time for an update, and as promised the first part of my entry in last years GBWC
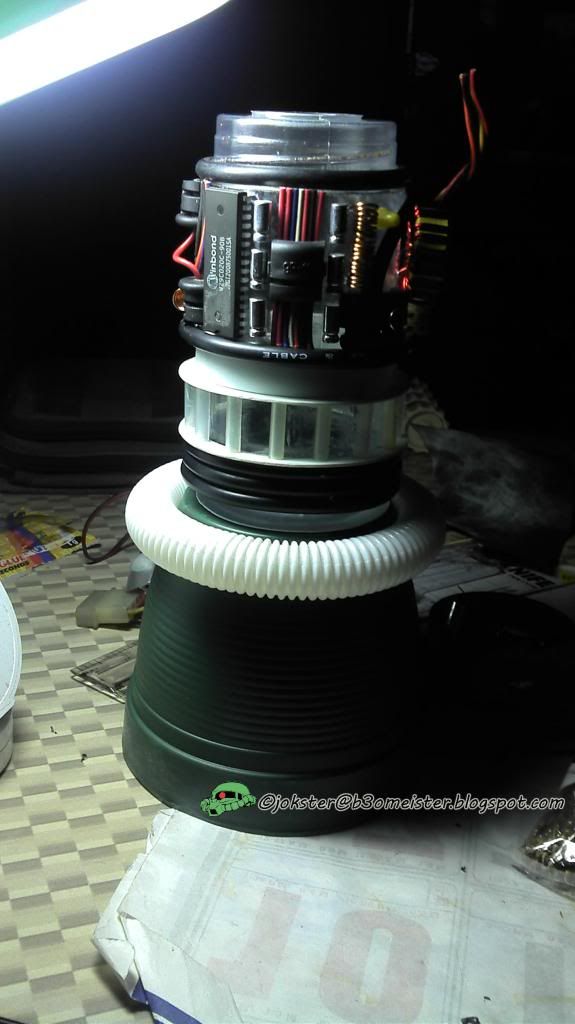
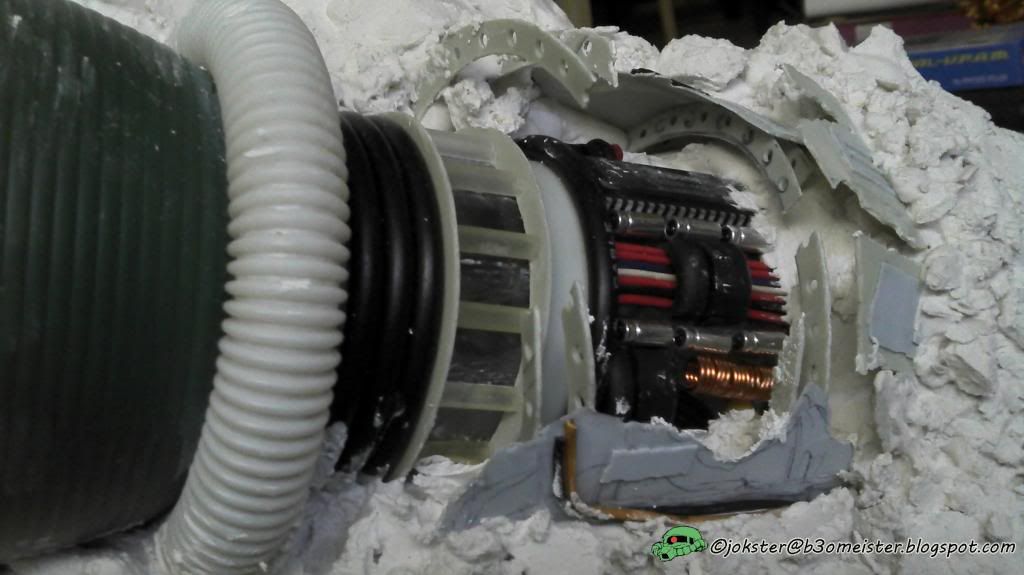
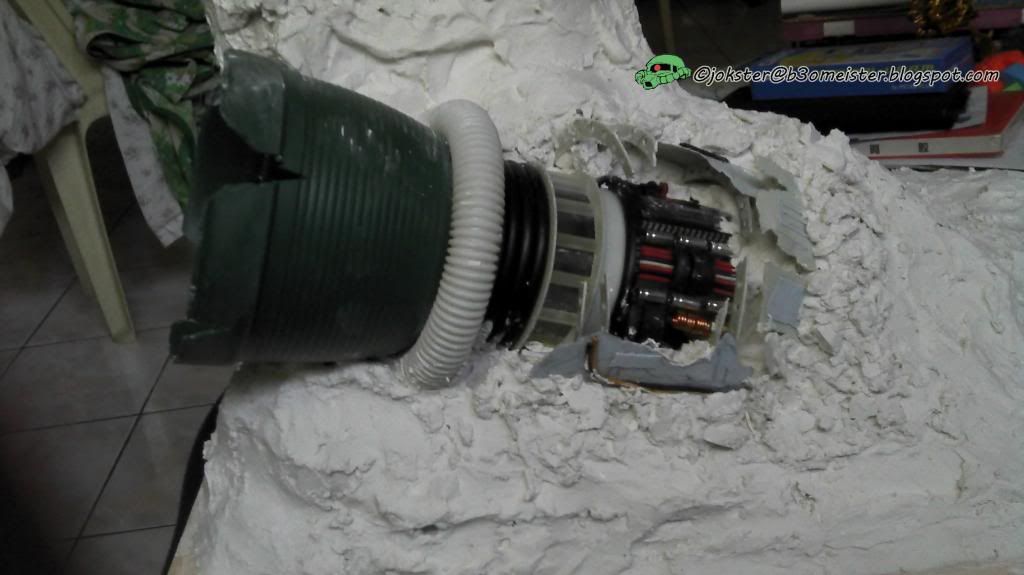
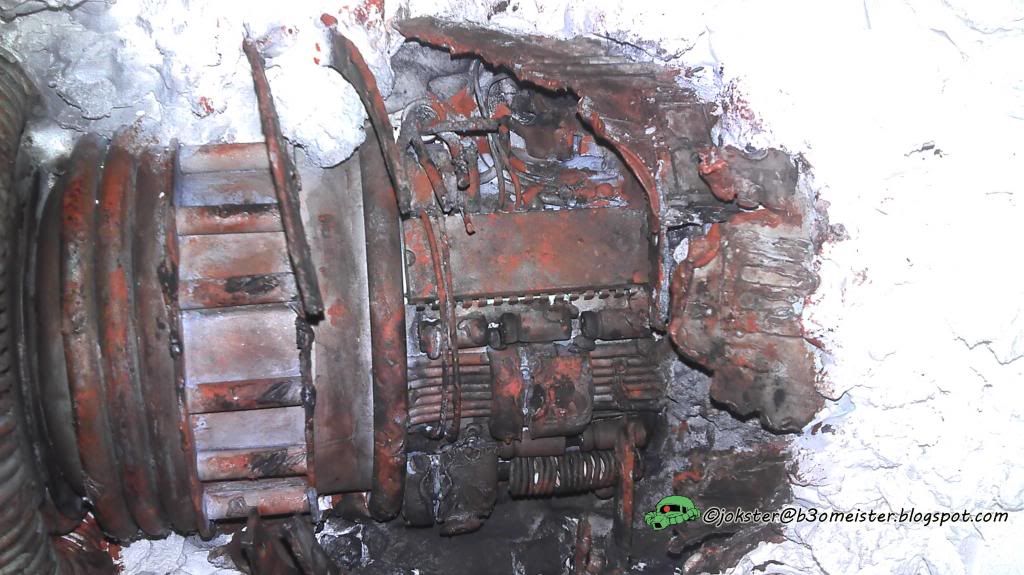
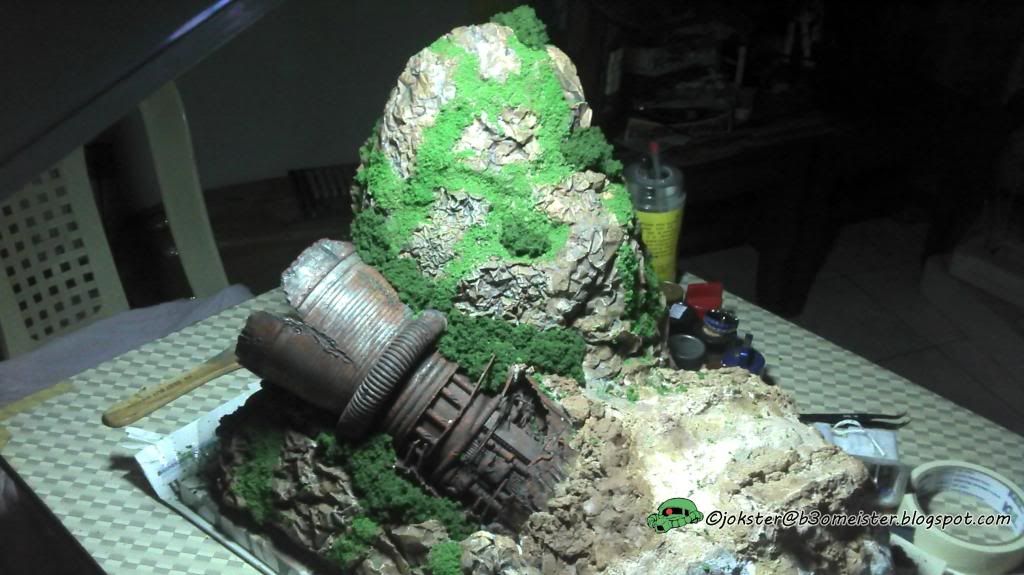
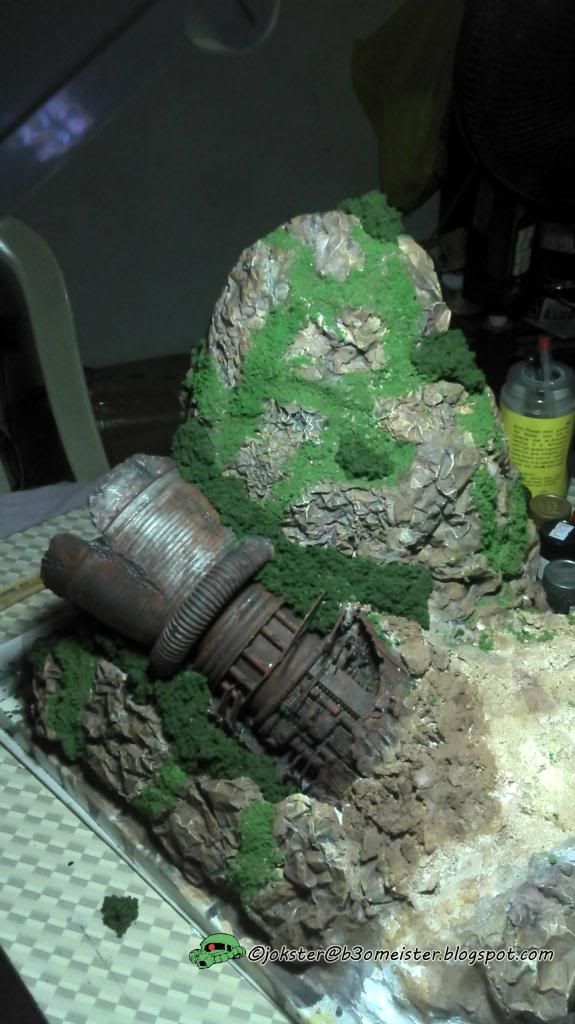
First up is the thruster made from pc motherboard part scraps, wires and power cords, high impact sheets (hips), empty pen tubes, fish food canister, filter hose and plastic pot.
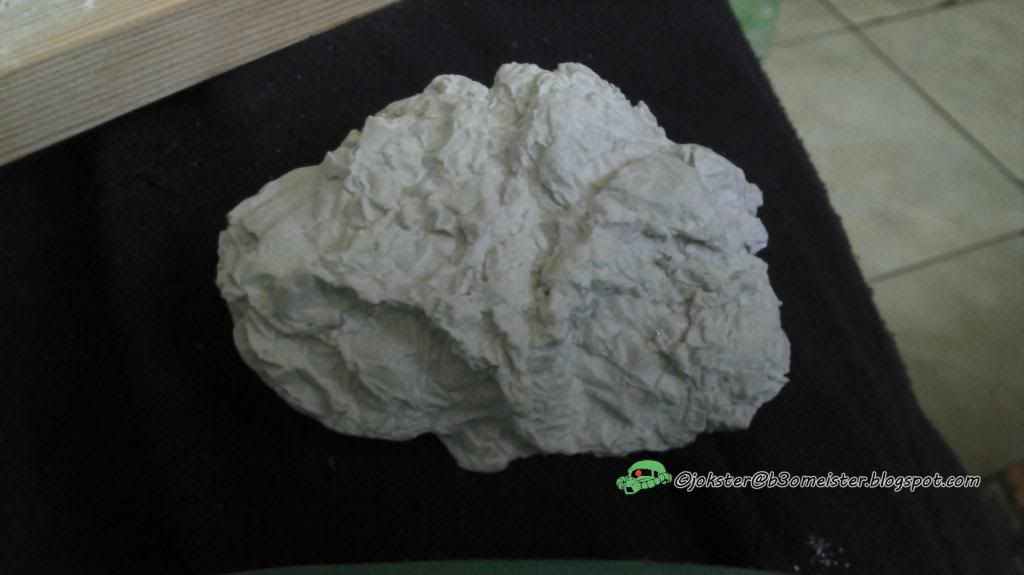
Next the diorama base was from a cork board i bought from a local stationary shop dimensions are about 40cm x 30cm. I build up a mountain from old newspapers and plaster, next planted the thrusters at the foot and added a few rock details for crashed effect and also did a little damaged effect.
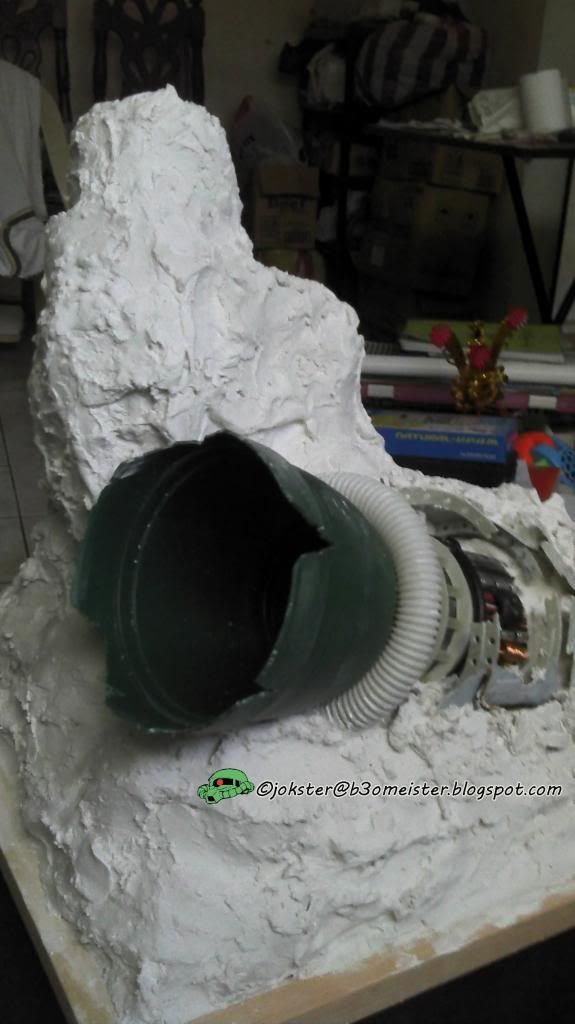
Decided to make the mountain more realistic and few videos in the net gave me an idea how to mold plaster to look like real rocks by using aluminum foils crumpling it up for a rock face and then pour in the plaster and it gave me this effect a little to detailed but a really nice effect for a first try.
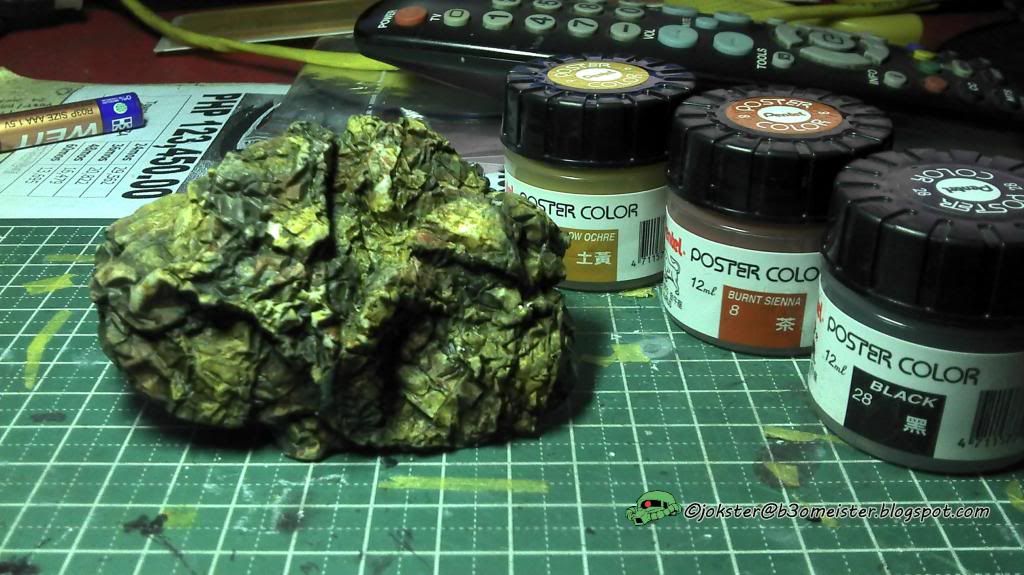
I then tried another tip i got from browsing the net, acrylic washes for a more realistic looking rocks. Since i'm just going to try this technique out bought some cheap poster colors in earth tone colors. It's not a good first try the colors are too dark but practice makes perfect just need to find that perfect mix of shades. Here is the link by the way for the Acrylic washes technique
Moving on i weathered the thrusters with some enamels, a mix of brown and red would make a good rusty look then using a brush dipped in lighter fluid to wash it off a little and stain it a little better. Added some black for burnt effects.
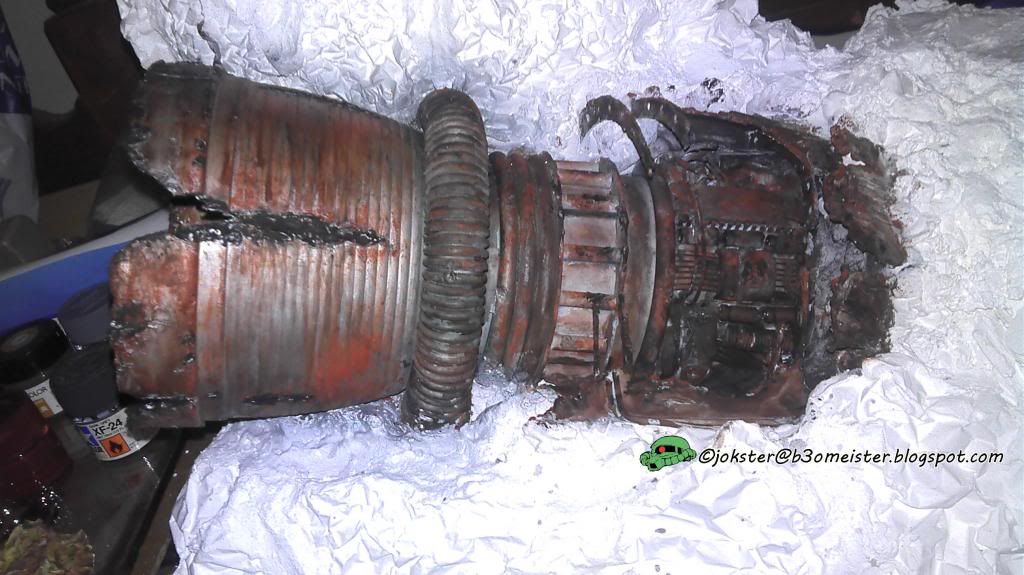
In the next image i had to say sorry because i skipped so much work done and didn't took a picture really sorry :(... I'll just write down the things I've done to made it look this way. Applied the aluminum foil technique for rock faces. Gave the thrusters a few more washes of brown to make it look really old and forgotten. Improved acrylic wash technique using Tamiya and Mr. color aqueous colors all over the landscape. Bought Woodland Scenic foliage's from FB online seller M1gs and grass from local art shop for the bushes and shrubs and applied it generously on the diorama. And finally some fine sand colored with Mr. color sandy brown where the guntank will be placed.
And that concludes part 1 of the work in progress. See you in part 2!
ReplyDeletePlaygroup Singapore oh, you made that rusty look. nice